

Hello, Whoreders! For this edition of DIY Beauty we've brought in a very special guest Whoreder contributor, Kim. She's a good friend of ours and is known for her perfect poses (even when we're on a roller coaster) and her DIY beauty skills. She made us all an incredible scrub for Christmas, and we've all been raving about it ever since. I talked her into doing a guest post with us here, to share her knowledge and pass on the gift of soft, glowy skin to all of you. Take it away, Kim!
As
Coco Chanel once said, “A girl should be two things: classy and
fabulous.” While I can’t help you out with the class, we can work on
the fabulousness... or at least let you pamper yourself into feeling it,
all without breaking the bank. A gal can spend upwards of $20, $30...
even *gasp* $50 on a tub of body scrub! Why? WHY?? Why all of this
madness when you can make your own for a fraction (!) of that??? So
lets stop this nonsense and get to scrubbing:
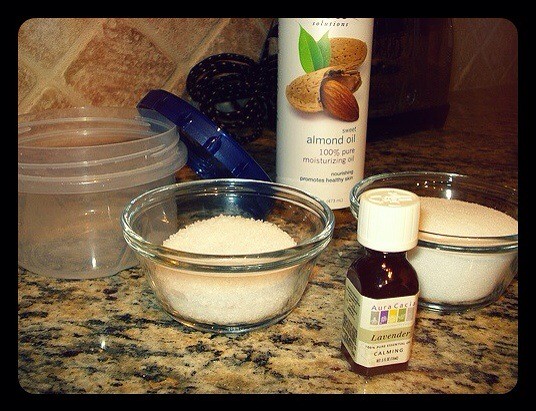
What you’ll need:
Salt or Sugar (1-1 ½ cups)
Oil (about ½ cup)
Essential Oil (15-30 drops--this is optional, but it will leave you smelling fabulous)
Container
Sugar
or salt? I use a mix of coarse sea salt and regular ol’ table salt
(the non-iodized varitey)... I use probably a ratio of ⅓ sea salt to ⅔
table salt. If you have sensitive skin, I would just use the table
salt, and if you have uber sensitive skin I would use sugar as it tends
to be less abrasive and lacks the mineralization which, while good for
detoxifying, can also be irritating.
Oil.. There are TONS to
choose from. My favorite is sweet almond oil. It’s fragrance free,
and will absorb into your skin making it oh-so-soft. The ancient
Egyptians used it as part of their beauty regimen and Jacqueline Kennedy
swore by it to keep her complexion radiant, and gurl... if it’s good
enough for Cleopatra and Jackie O, it’s good enough for me! It also
happens to be one of the cheapest oils out there (I just scored a 16 oz
bottle for about $8 at the local [and expensive] health food store!).
Essential
oil, like I said, this is optional. The oils can get sort of
pricey BUT they will last a long time as you don’t need a ton of product
to make your scrub smell nice. If you’re planning on scrubbing before
bed, try lavender or chamomile to relax you, in the morning try bergamot
or grapefruit for a bit of a pick me up, or peppermint and eucalyptus
for a refreshing foot scrub at the end of a long day... it just comes
down to what you like. The possibilities are practically endless.
So.... since THAT’S covered lets get to it...
First off, gather the essentials.
Dump
your salt and oil into your container (I really like the plastic
containers with the screw-on top) and add your essential oil
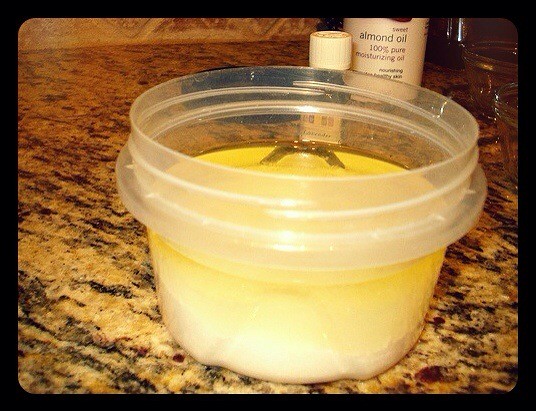
Mix!

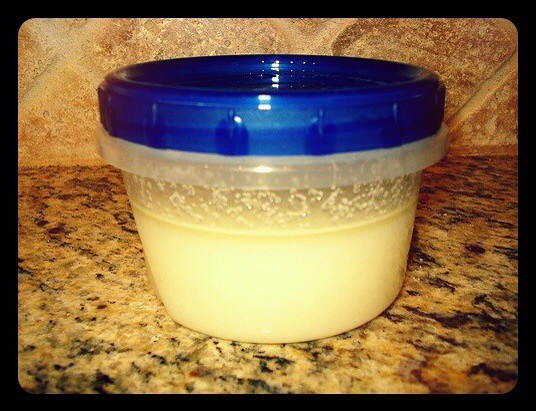
You
may want to add more salt depending on how you prefer your scrub’s
consistency to be and voila! you’re done... and all for around $5!
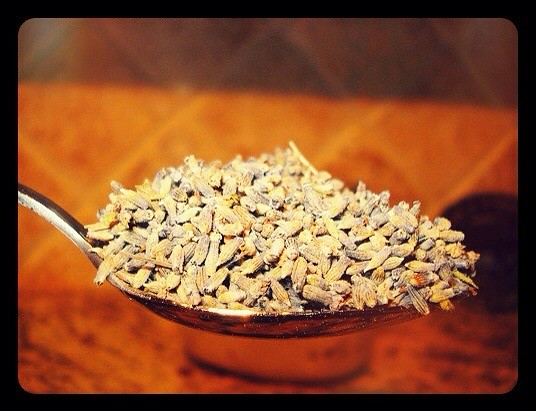
Since my go-to scent is lavender, sometimes to make it très chic I will add some actual lavender to the mix. I always do this if I’m giving it as a gift....
It makes a GREAT (cheap!) gift, which you can personalize with the per recipient's favorite scent. Although, to keep it classy I will put the scrub into one of those glass gasket jars which
you can score for around $4 at your local craft store, like Michael’s
(keep your eye out for one of those 40% off coupons!). I whip up these
for some of my fellow whore[der]s for Christmas or birthday gifts and
they always receive rave reviews... all for less than $10.

So
there you have it! Scrubbing 101. If this doesn’t help make you feel a
little more fabulous, then you probably have no feelings and I can’t
help you... for everyone else... happy scrubbing!
I really wanted to make a reference to Buffalo Bill in Silence of the Lambs, and make all of
you put the lotion in the basket, but since this is my first post i
didn't want to freak you out. [yet... - Vanessa]
.....................
Thanks, Kim! Our freshly scrubbed bodies and unscathed wallets thank you for this fantastic and budget friendly DIY lesson. You can see more of Kim's craft inspirations on her Pinterest boards here.
No comments:
Post a Comment